How to Build a Waterworks Pipeline in 10 Easy Steps
Building and maintaining a waterworks pipeline is no small task. It requires careful planning, precise execution, and a deep understanding of both the technical and environmental aspects involved. From surveying the land and obtaining permits to laying and assembling pipes, every step must be executed with care to ensure the system operates efficiently and lasts for decades.
Today, while the basic steps in pipeline construction have remained consistent, the requirements for environmental compliance, safety protocols, and community impact have only grown more stringent.
In this guide, we’ll walk you through 10 essential steps to building a waterworks pipeline. These steps will take you from the initial land survey all the way to backfilling the trench and restoring the work site.
What We’ll Cover:
- Surveying and grading
- Obtaining permits and approvals
- Preparing the land
- Digging the trench
- Equipment delivery
- Starting construction
- Assembling the pipeline
- Recording and surveying
- Lowering the pipe
- Backfilling the trench
- Key takeaways
1) Surveying and Grading
The first step in any waterworks pipeline construction project is to find a suitable site. Surveyors find the site through initial or existing land surveys and the pipeline’s start and endpoints.
Once surveyors have this information, they proceed to test and investigate the surrounding land. They’ll look out for things such as areas of environmental preservation and concern and ground makeup.
Surveying involves looking at the type and composition of the soil, the presence of any underground stone, and the impact construction will have on the surrounding area.
All this happens before officially choosing a site as the location for construction.
2) Obtaining Necessary Permits & Approvals
Before breaking ground or disrupting any environment, obtaining the required permits and approvals is paramount.
It’s not just about seeking permission but ensuring the proposed construction adheres to all environmental, safety, and local regulations. Different municipalities, states, and even federal bodies have varied criteria for approval, and it’s essential to understand and meet these specifics head-on.
Often, these permits revolve around environmental impact assessments, local community concerns, and safety protocols that must be in place. The process might involve consultation with residents, wildlife experts, and environmentalists.
Ensuring you’ve secured all necessary permits not only keeps the project compliant but fosters community trust and can prevent costly delays or legal challenges down the road. Remember, a well-prepared project lays the foundation for smooth construction, and that begins with the right permits.
Looking for high-quality pipeline tools? Read our pipeline product guide.
3) Preparing the Land
Next comes land preparation. Workers prepare any construction tools and equipment to start on-site, allowing the work to begin more easily.
During this stage, workers remove vegetation from the pipeline’s path, dig up grass, and begin making way for the pipe’s trench. This process might involve removing topsoil and ensuring construction tools can work efficiently.
4) Digging the Trench
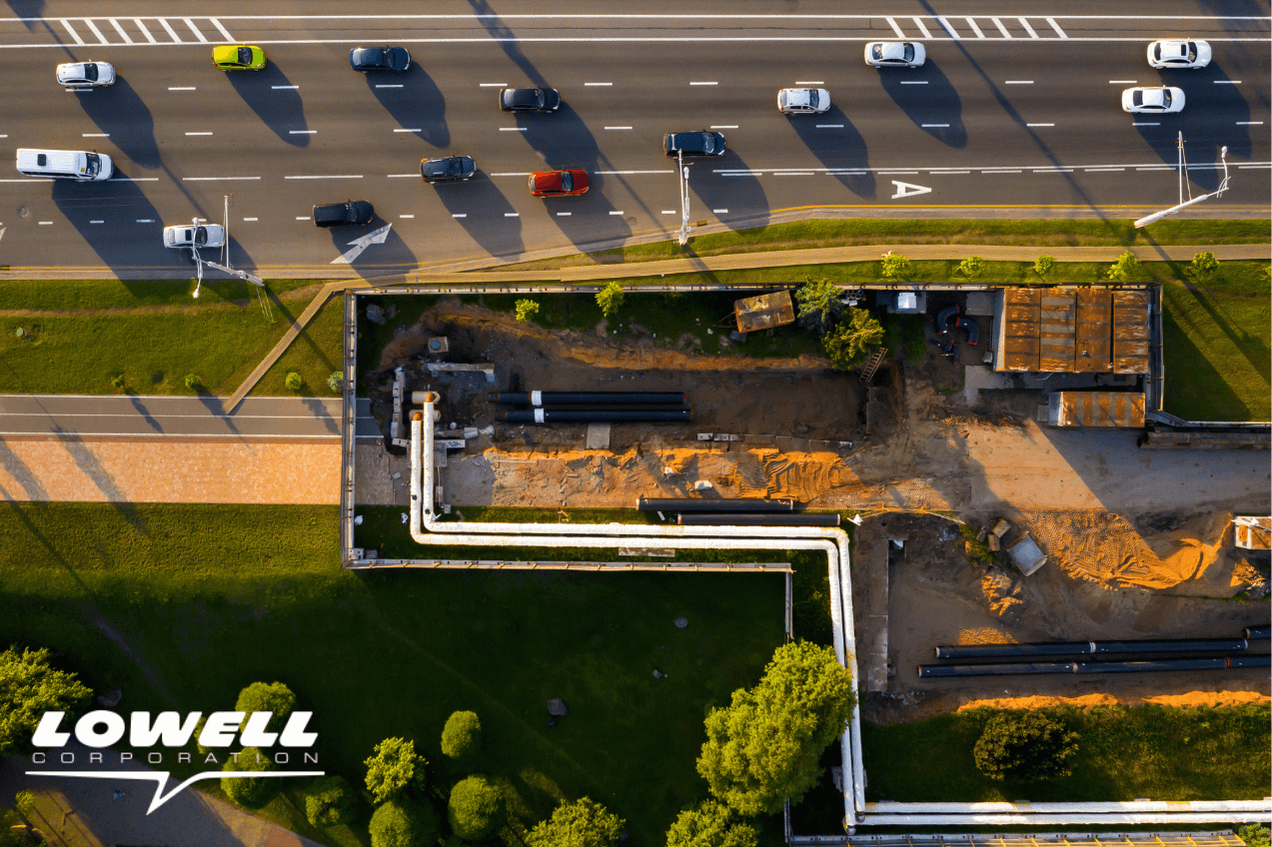
Once the land is ready, construction can begin on the trench. Again, this is before any pipeline tools start on the site, as it simply involves digging a big ditch.
Workers will use excavators and diggers to create the set depth and width from the original plans. It might involve blasting rock to make the right trench, but this depends on the ground’s composition.
Up until this point, waterworks pipeline construction proceeds like any other underground construction project. Workers must ensure the site is ready for specialist pipeline tools and workers from the next stage onwards.
5) Equipment Delivery
Now, workers can bring in the right pipeline tools and construction tools to build the waterworks pipeline.
First, the pipes themselves are delivered and laid out along the trench’s path. They’re left on-site during the final preparation stages.
It also involves delivering welders, socket wrenches, valve wheel wrenches, and other general construction tools.
Before this stage, project managers will have picked the right materials for the pipeline under construction. Materials include PVC, steel, iron, and concrete depending on soil composition and acidity, length of the pipeline, and more.
The right materials are chosen based on the initial surveys, which is why they’re so important.
6) Starting Construction
Before pipes enter the trench, workers must make some final preparations. Preparations include laying a cushioning of fresh soil, particularly in areas with rocky ground. Doing so helps to prevent damage to the pipes, both during construction and operation.
Next, the pipes pipeline workers bend into the correct shape. They do this on-site using the right construction tools, which is usually a hydraulic press. Workers bend pipes based on ground elevation to maintain the correct water flow and pressure when operating.
Workers will usually ship in pre-bent pipes if a waterworks pipeline needs to make a big bend, which isn’t as common. Bending pipes to big angles takes a lot of work, so they’re built at the correct angle instead.
The process of laying and bending the pipes is known as stringing and makes the final assembly of the waterworks pipeline much faster.
Waterworks engineers need tough wrenches to withstand heavy use.
7) Assembling the Pipeline
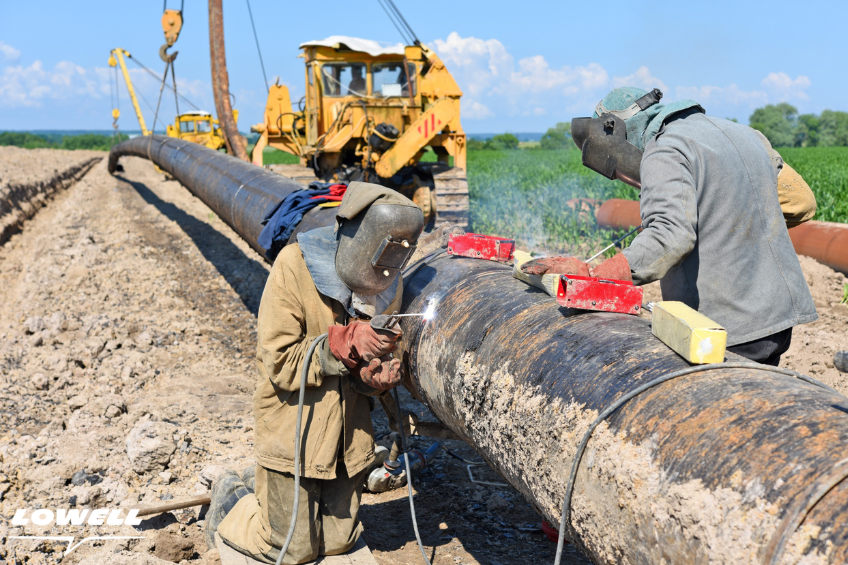
Once everything is in place, workers weld the pipes together. They bolt pipes together using a valve wheel wrench or socket wrench, depending on the material used.
Generally, they only weld metal pipes together, while the other materials bolt. Again, this depends on several factors, including ground composition, water pressure, and intended lifespan for the pipeline.
Materials more susceptible to corrosion, such as iron, might be coated to make them last longer.
During this stage, the waterworks pipeline goes through several inspection stages. It’s important to ensure none of the pipeline tools have damaged the pipes before burial.
Inspectors also check pipes are joined properly in the correct way and form a single continuous length of pipe.
8) Recording and Surveying
Next, workers perform more surveys. They record what’s known as “as-built” footage to show the waterworks pipeline’s length, depth, and makeup.
Other workers will X-ray the pipes, looking for holes and gaps in the joins. These might also then be coated for better preservation, depending on soil conditions.
9) Lowering the Pipe
Finally, we reach the stage that most people would consider the most important: lowering the pipe into place.
Workers use pipeline tools (specifically side booms) to ease the built pipe into the trench. Of course, they do this carefully to ensure no damage to the pipes.
They then conduct another survey using GPS and other tools as a final record of where the pipe is.
10) Backfilling the Trench
Once the waterworks pipeline is in place, workers use construction tools to backfill the trench. They do most of this using the old soil from the trench. However, they might also use new materials depending on their composition.
Pipeline workers might add a soil crown to make up for soil settlement. Essentially, it’s extra soil on top of the trench so that it lies flat once it settles and compresses.
Then, workers restore the topsoil and vegetation to the area or re-pave it if it’s an urban site. The intention is to leave it how it looked before construction.
Ready to save time and money on
your pipeline construction tools?
Key Takeaways
Pipeline construction is more than just laying pipe in the ground. It involves a complex coordination of teams and equipment, managing everything from land preparation and trench excavation to the careful delivery and installation of the pipes themselves.
These pipelines serve as critical infrastructure, supplying communities with water and ensuring the continued functionality of urban and rural areas alike. Alongside these tasks, engineers must also consider maintenance, repair, and the long-term sustainability of the systems they are building.
On top of that, regular surveys and inspections are vital to ensure the integrity of the pipeline throughout its lifespan. Without careful planning, the wrong materials or improper installation could lead to system failures, environmental damage, or costly repairs down the road.
By following these best practices and utilizing high-quality tools, pipeline workers and engineers can construct systems that stand the test of time, providing essential water services to communities for years to come.
The Best Pipeline Tools for Waterworks Since 1869
Lowell Corporation offers the best hand tools in the industry. Whether you need a strap wrench or a socket wrench set, you’ll want the right balance between cost and efficiency. Our custom hand tools make tough jobs easier with waterworks engineers and lineman tools. We’ve been increasing productivity in construction, maintenance, and manufacturing operations since 1869. So, let our waterworks and lineman wrench technology simplify your workload. With our essential industrial/OEM parts, you get the backing of the most trusted name in the hand tool industry.
Above all, Lowell Corporation is proud to manufacture all of its lineman tools right here in the U.S.A. in the heart of New England. All Lowell wrenches are 100% guaranteed with our one-year manufacturer warranty against defects in material and craft for one year from the date of delivery.


